I keep oohing and aahing over my new bag. I wish you could touch it - you'd understand. When I bought the fabric for my Mardi GRAS bag, it didn't WOW me until I spent a little time Saturday morning making it a little more 3D.
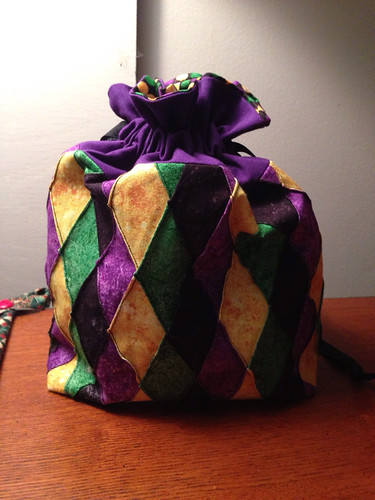
Can you see the 3D seams along the diamonds? It was easy. I thought I'd share in case you want to give it a try. Fabulous for those novelty prints in your stash.
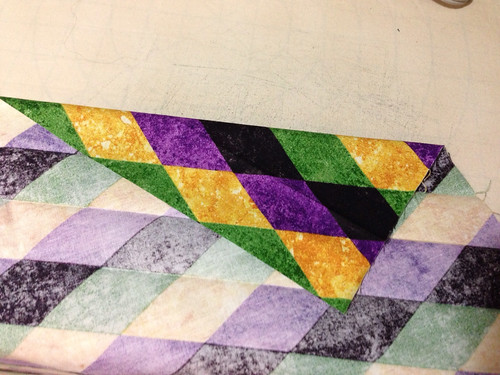
First, you need to plan your design. As this was a printed diagonal, my choice was obvious. For my sister, whose fabric is vertical "beads", I went with making stripes. Note that as you stitch, your final fabric will shrink as you gather in those seams. The more you seam, the more it shrinks so be sure to start with a generous allowance each way.
Next, fold your fabric and press a crisp edge along each printed line in the design. Make sure to press and not iron so your fabric doesn't stretch. Because I was sewing diagonals, I pressed all my "lines" going in one direction, did my top-stitching, and then pressed my lines in the other direction before sewing those.
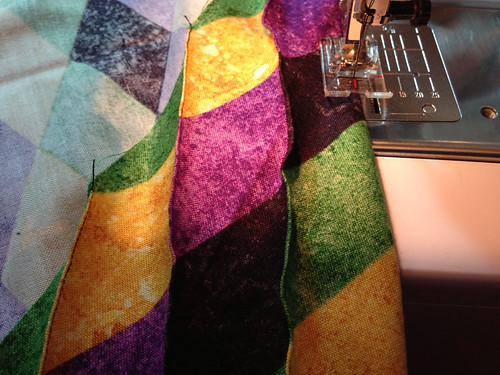
Ok, starting from one end working one pressed line at a time, topstitch a seam just a few threads from the edge.
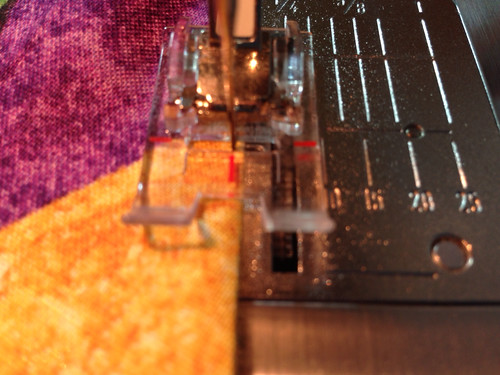
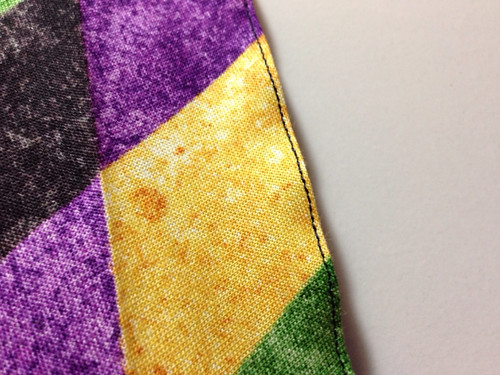
Notice how nicely you can see the edge with this clear foot.
Repeat this process for lines going both directions. Don't worry if you do all one direction and the piece is a little skewed. It will fall back into shape when you stitch in the other direction.
See how close to the edge I am? Wavy is OK - it'll press we'll shortly.
If your fabric section is a little longer and you are afraid it may shift as you top-stitch, you can use pins to hold it in place.
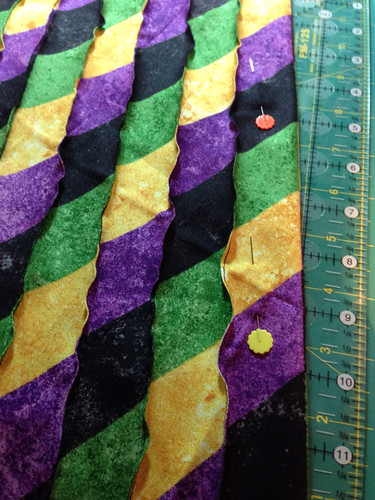
Eventually, you'll have all your lines stitched and will have this beautiful, textured fabric (which, as the final piece can attest to, will press quite flat and is easy to cut). Notice how nicely those diamonds stand out now!

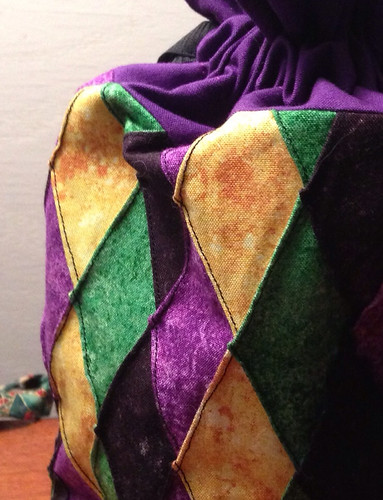
Here is a close-up of my bag. A little more interesting, right?
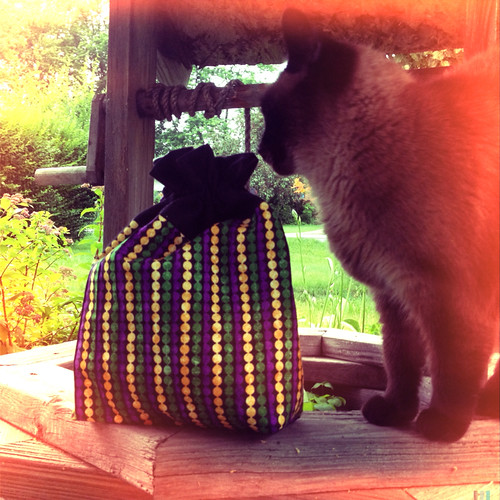
And, as promised, my sister sent me a picture of her bag (and her cat!)! Her stitch lines are those dark lines between the green and purple beads.
Check back again for another cool project using a variation on this technique!
Happy Stitching!
Elisa
great idea! you are so cleaver!
ReplyDelete