Tuesday, July 23, 2013

Detroit Adventure

I'm in the midst of a stay-cation, and I was in need for an adventure.  Along with my Sweetie, Steve, we set off for exploring and caching in Detroit.  I think my cache log says it best:

Reading other logs left on the Detroit caches, I see people commenting about the sketchy neighborhoods, the trash, the burned out houses. Yes, we saw that, but we had some amazing (and diverse) experiences, too.

We visited a historic German church & cemetery. Saw a Detroit Zoo sign in (I think) Arabic. Stopped at a duck crossing. Escaped ravenous mosquitoes at this little-known nature trail near Fairlane. Discovered MANY Michigan Lost Towns. Saw a man wheel an ice cream pushcart in Mexicantown. Visited a Hungarian church and cemetery (with those beautiful cameos in the headstones). Almost hit a man riding a bicycle-powered potato chip cart. Crossed over into alien territory under a freeway. Marveled at the colorful graffiti-murals covering abandoned buildings. Sat enthralled with the Albert Kahn facades & interiors in the New Center area. Fell silent over the Art Deco details on the now-defunct theaters on the East Side. Finished off with dinner at Polish Village.
I can't wait to share some of my pictures with you!

Saint Alphonus - German Catholic Church & historic cemetery

Steve helping out at the Duck Crossing
 
Lots of Nature Trails in the Detroit Area


So many flowers - what is this?

Wetlands, too

We visited many of the Michigan Lost Towns (MLT) - fascinating histories!

Detroit is dotted with historic cemeteries

Details from the Cadillac Building - designed by Albert Kahn

Always remember to look up!

Interior of the Cadillac Building

Details are amazing!  Not the Detroit everyone thinks of, eh?

This is.  But, typical to this type of structure, the poor neighborhood surrounding it was immaculate, filled with laughter and children.

So, not much quilting done, but at least I have something to show for it!

Happy Tuesday!
Elisa

Tuesday, July 9, 2013

I Wish I Was a Firefly


I came across this quote saved on my computer from 2007 and had to share.

Happy Tuesday!
Elisa

Wednesday, July 3, 2013

A Tasty Urban Legend


Did you want to hear something funny?  I was writing up a little ditty about the Urban Legend “$250 Cookie Recipe” when I came across a funny fact (thank you, Ask.com).
This urban legend has to do with Neiman Marcus charging a customer $250 for a chocolate chip cookie recipe.  At the time this story started circulating, Neiman Marcus restaurants didn’t even SELL chocolate chip cookies!
However (and this part fascinates me and has earned my respect), as an antidote to this defamatory urban legend, Neiman Marcus chefs did create a chocolate chip cookie recipe after the fact. And, they have posted it on their company website, free of charge!  You can download it here!  
I’m hoping to test it out over the holiday weekend!
Kudos to Neiman Marcus!
Elisa

Tuesday, July 2, 2013

Faux "Pieced" Doll Quilts and Minis

Ok, this is in continuation of the technique featured in my last post. You saw what happened when you created a series of topstitches for a nice textured fabric....

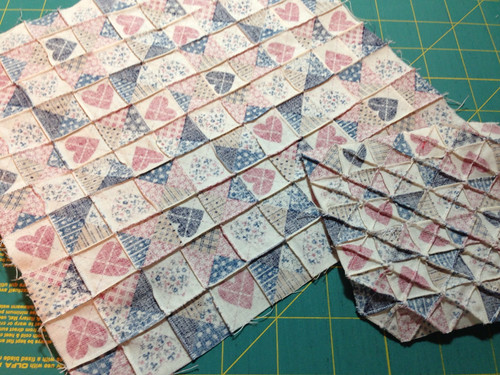
But what happens when you do the same thing... but from the back?

Ever been asked to make a doll's quilt for a local charity auction at work? Or wanted to make a mini quilt for a dollhouse or a play bed or to place under a lamp? Those mini-dollhouse quilts cost a FORTUNE in the shops but the seams are so teeny-tiny to make!

Here is another neat technique using some of those novelty fabrics - We can call it a faux-pieced quilt.

Basically, find yourself a novelty fabric pre-printed in geometric shapes. (I'm sorry I couldn't find a swatch of the "before" fabric so you can compare). And, using the technique featured in my texturing post, sew the "seams" from the BACK of the fabric and not the front.

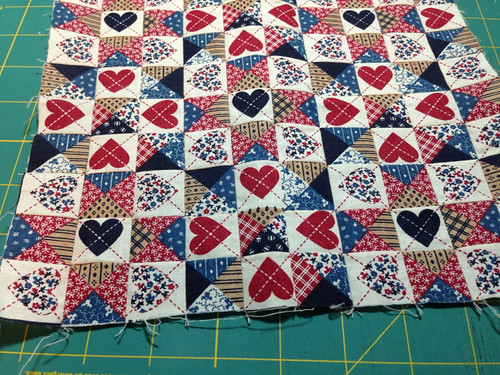
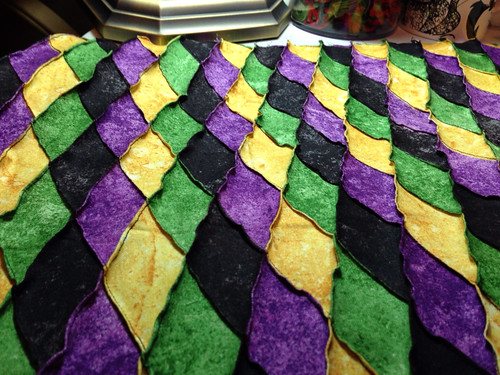
Voila! A pieced mini-quilt with perfect corners and no bulky seams! If only you could run your finger over this "top" - it feels just like a pieced quilt and looks like you worked in it for HOURS!

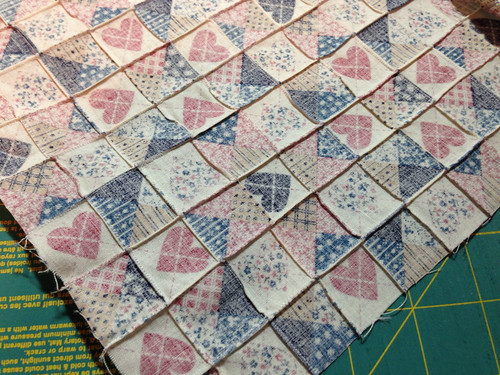
Here is a back view so you can get an idea of implementing the technique.

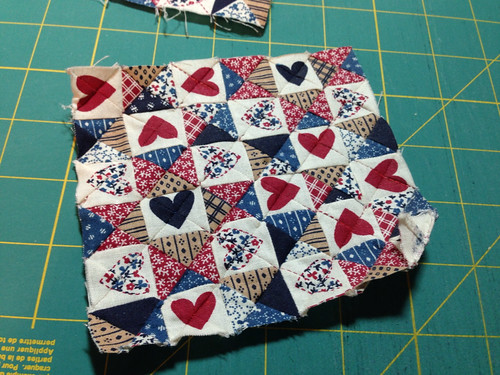
I also created another piece where I "pieced" the diagonal as well as the grid lines:

Pretty cool, eh?

To finish this, I will probably "birth" the top and the backing, and then I would run a few tacking stitches to keep it from shifting.

I hope you enjoyed this!

Elisa


Monday, July 1, 2013

Add a Little (Sewn) Texture

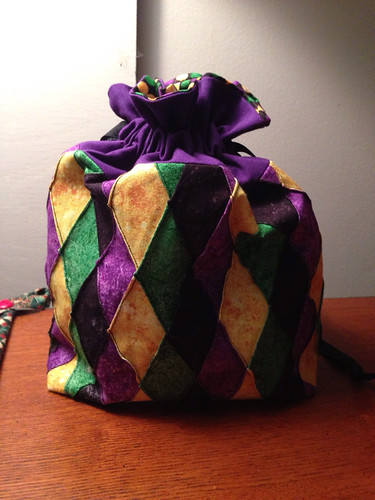
I keep oohing and aahing over my new bag. I wish you could touch it - you'd understand. When I bought the fabric for my Mardi GRAS bag, it didn't WOW me until I spent a little time Saturday morning making it a little more 3D.

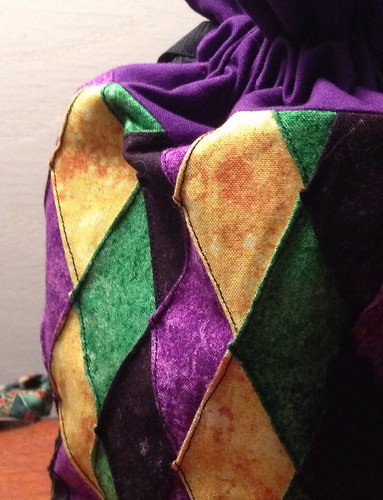
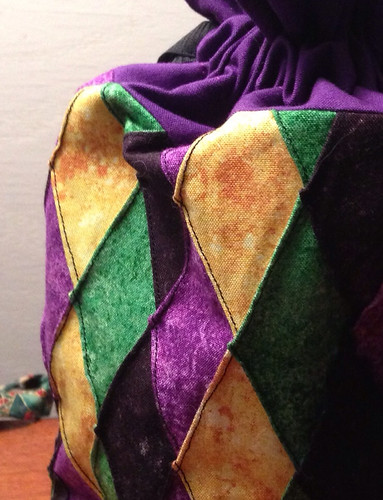
Can you see the 3D seams along the diamonds? It was easy. I thought I'd share in case you want to give it a try. Fabulous for those novelty prints in your stash.

First, you need to plan your design. As this was a printed diagonal, my choice was obvious. For my sister, whose fabric is vertical "beads", I went with making stripes. Note that as you stitch, your final fabric will shrink as you gather in those seams. The more you seam, the more it shrinks so be sure to start with a generous allowance each way.

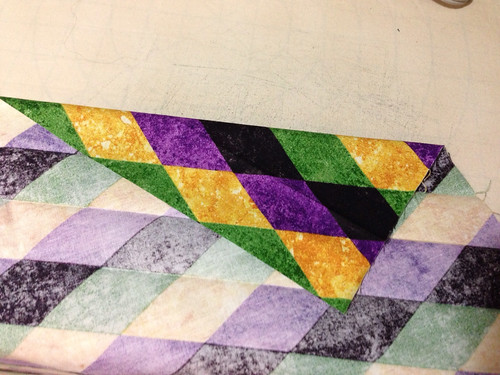
Next, fold your fabric and press a crisp edge along each printed line in the design. Make sure to press and not iron so your fabric doesn't stretch. Because I was sewing diagonals, I pressed all my "lines" going in one direction, did my top-stitching, and then pressed my lines in the other direction before sewing those.

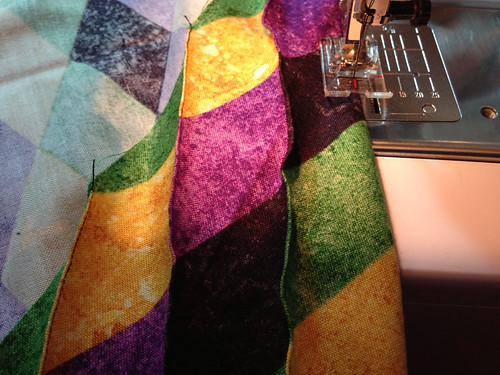
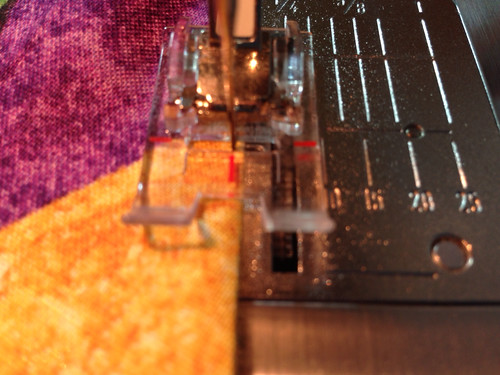
Ok, starting from one end working one pressed line at a time, topstitch a seam just a few threads from the edge.

Notice how nicely you can see the edge with this clear foot.

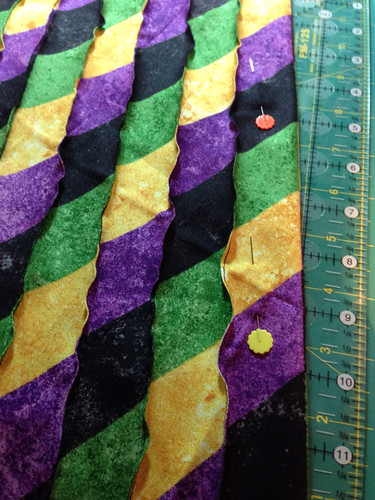
Repeat this process for lines going both directions. Don't worry if you do all one direction and the piece is a little skewed. It will fall back into shape when you stitch in the other direction.

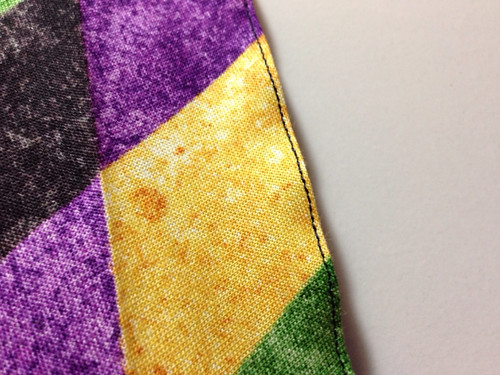
See how close to the edge I am? Wavy is OK - it'll press we'll shortly.

If your fabric section is a little longer and you are afraid it may shift as you top-stitch, you can use pins to hold it in place.

Eventually, you'll have all your lines stitched and will have this beautiful, textured fabric (which, as the final piece can attest to, will press quite flat and is easy to cut). Notice how nicely those diamonds stand out now!

Here is a close-up of my bag. A little more interesting, right?

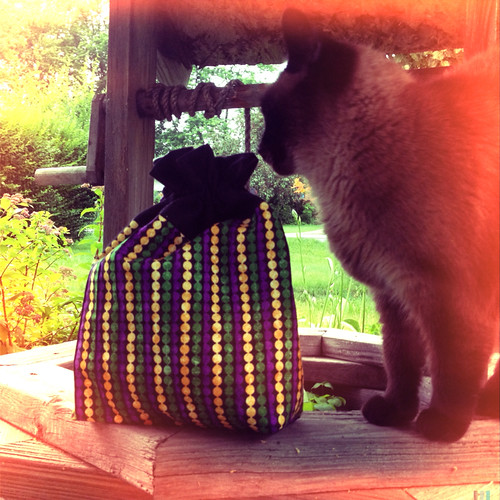
And, as promised, my sister sent me a picture of her bag (and her cat!)! Her stitch lines are those dark lines between the green and purple beads.

Check back again for another cool project using a variation on this technique!

Happy Stitching!

Elisa


Tool Tip: Masking Tape

I made a set of drawstring bags for myself and my sister for our upcoming GeoBash (theme is Mardi Gras, I'm heeled at how nice they came out. I found this nice pattern for a lined bag at In Color Order. The only made a slight change - I wanted the dot fabric to peak over the top but didn't want to line the whole inside with such a dark fabric so made the interior half dot/half light.

Do you use masking tape? I use a lot of masking tape for guiding machine quilting and top stitching. I don't like the mess marking pencils make (especially on very dark or very light fabrics). You can see here where I used 1" masking tape to use as a guide when stitching my sister's drawstring casing.

To keep the tape from being too sticky, I'll run the tape over my clothes first so the adhesive gets a little fuzzy. Easy on and easy off!

I'll try to get a picture of my sister's bag to share soon.

Hugs to you all,

E.

P.s. Lauri, still plugging away on my butterflies!